
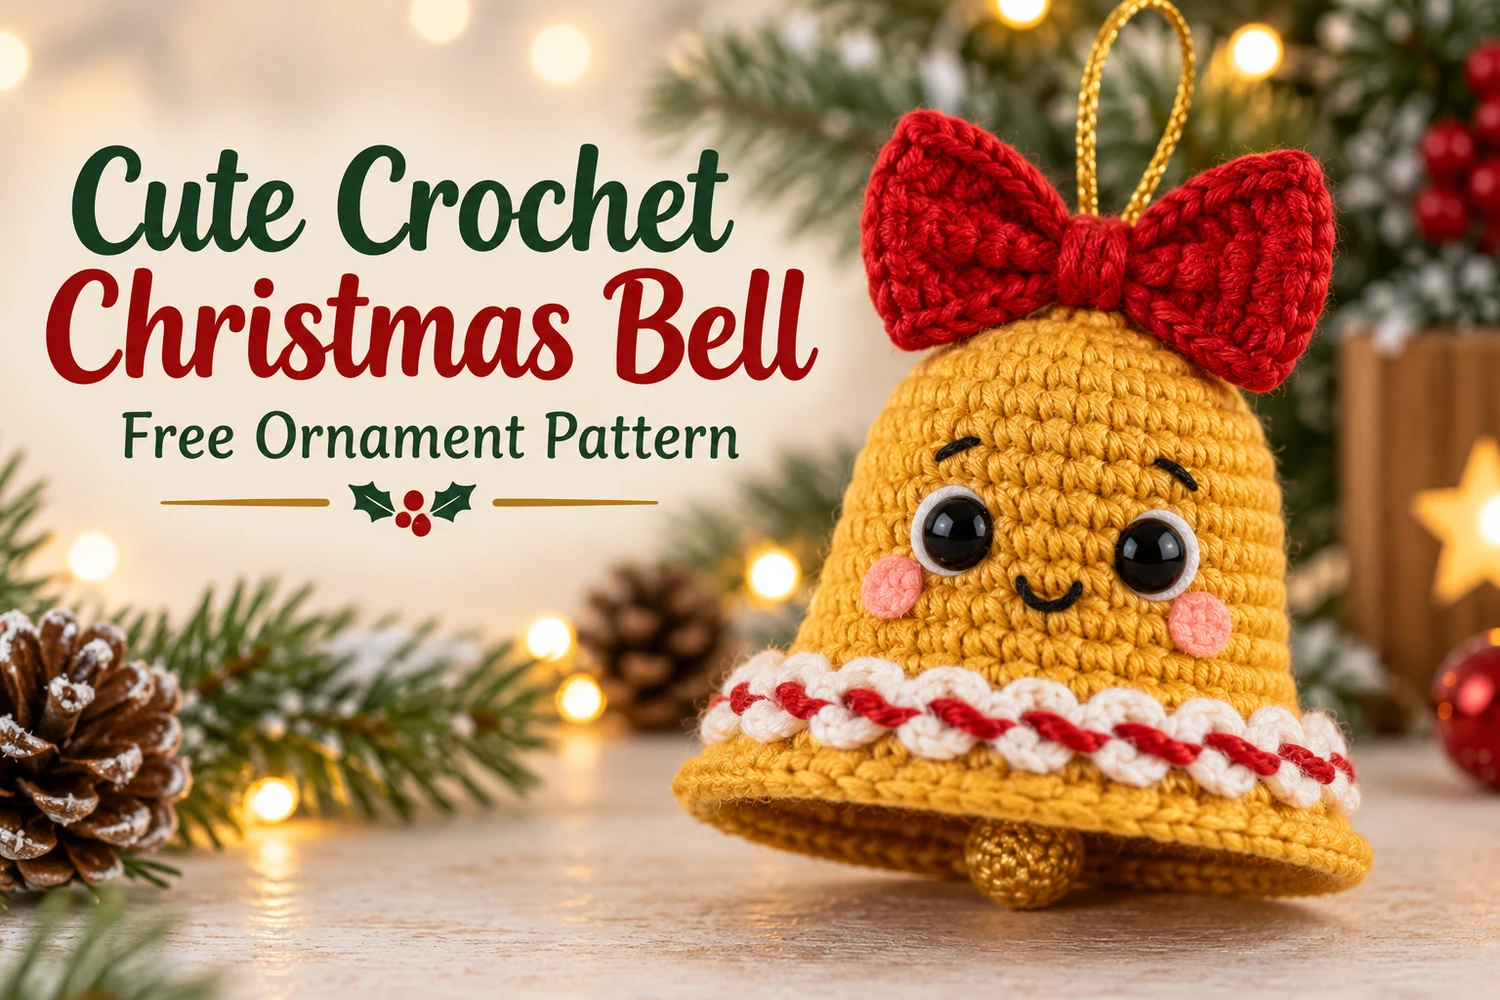
This Cute Golden Christmas Bell Crochet Pattern makes a smiling golden-yellow bell with a rounded crown, a flared open rim, a bright red crochet bow, and a thin gold hanging loop. White scallops woven with a red strand create the candy-cane detail above the brim.
Work the hollow bell from the crown downward, then add the face, festive trim, bow, and a tiny crocheted clapper. The shell stays open at the bottom so the finished ornament reads as a bell rather than a stuffed ball.
Pattern Information
- Skill level: intermediate; shaping a hollow shell, small appliques, surface attachment, and embroidery.
- US crochet terminology.
- Estimated height: 8–10 cm excluding the hanging loop with sport cotton and a 2–2.5 mm hook. Tension changes the size.
- Colors: mustard gold, bright red, white, black, and peach pink.
- Construction: open golden bell shell, two bow pieces, two white eye discs, facial embroidery, a trim chain, and a small crocheted clapper.
This is an image-inspired adaptation. Counts and repeat structure have been reviewed, but the pattern has not been physically crocheted or independently tested. The written construction guides the project; images illustrate its intended appearance.
Materials
- Sport cotton: approximately 20–25 g golden yellow and small amounts of red, white, black, and peach pink.
- 2–2.5 mm hook that makes firm stitches with the chosen yarn.
- Two black sew-on eye beads approximately 8 mm, or black yarn to embroider eyes.
- Tapestry needle, sewing needle, strong sewing thread, scissors, and stitch marker.
- Thin gold-colored hanging cord, approximately 25 cm.
- Optional cotton-compatible fabric stiffener and a temporary smooth bell-shaped form for drying.
Abbreviations and Notes
- MR: magic ring; ch: chain; sl st: slip stitch; sc: single crochet.
- hdc: half double crochet; dc: double crochet.
- inc: 2 sc in one stitch; dec: sc2tog over two stitches.
- R: round. Mark the first stitch of each continuous round.
- Starting ch 1 does not count as a stitch.
- Keep the bell unstuffed and the lower opening unclosed.
- All additions are sewn securely; no wire is needed.
Cute Golden Christmas Bell Crochet Pattern
1. Golden Bell Shell
With golden yellow, begin at the rounded crown. Work continuous rounds without joining until the final finishing slip stitch.
Responsivo Post 01 – P1
- R1: 6 sc in MR .
- R2: inc six times .
- R3: (sc, inc) six times .
- R4: (2 sc, inc) six times .
- R5: (3 sc, inc) six times .
- R6: 30 sc .
- R7: (4 sc, inc) six times .
- R8–R13: 36 sc in each round .
- R14: (5 sc, inc) six times .
- R15: (6 sc, inc) six times .
- R16: (7 sc, inc) six times .
- R17: 54 sc .
- R18: sl st loosely in each of the 54 stitches .
Fasten off and weave in the tail along the inside of the rim. Keep the final slip stitches relaxed so they do not tighten the opening. R14–R16 create the flare; do not decrease or close the bottom.
The first seven rounds form the crown and upper curve. The straight section provides space for the face. The last rounds make a wider skirt. Massage the fabric gently to establish the dome and flare without pulling individual stitches out of shape.
2. White Eye Discs — Make Two
With white, R1: 6 sc in MR . R2: inc six times . Sl st to the first sc and fasten off with a long sewing tail. Flatten the disc and close its center securely.
Pin both white discs on the front around R9–R11, leaving approximately four shell stitches between their inner edges. Place a black sew-on bead over each disc, slightly toward its center. Adjust the spacing on your actual bell before sewing.
Sew the white edges to the shell, then sew each black bead through its hole and through both disc and shell with several passes. Secure the thread on the inside. The white disc should remain visible as an eye rim. For a bead-free version, embroider a black pupil and a small white highlight instead.
3. Smile, Brows, and Blush
With black embroidery thread, add two short curved eyebrows above the eyes. Embroider a small U-shaped smile between and below the eyes, around R11–R12. Keep the mouth narrow so the expression stays sweet.
Add several small peach-pink yarn stitches on either cheek, outside and below the eyes. Avoid large knots on the front. Secure and bury the ends inside the shell, spreading them so they do not show through the golden stitches.
4. White Scallops Above the Rim
Locate the 36 stitches of R13, immediately before the first flare round. Mark this level all around the bell. The white trim is applied to the surface of the finished shell, using those stitch posts as attachment points; it does not replace any shell stitches.
Responsivo Post 02 – P2
Join white at the back of R13. Work a surface sl st around the first marked stitch post, ch 2, skip the next R13 post; repeat around. Join to the first surface sl st and fasten off. There are 18 white ch-2 arches and 18 surface sl-st anchors across the 36 posts.
Keep the arches slightly raised and even. Do not pull the surface stitches tightly enough to pinch the shell. Use the full circumference rather than working the trim only across the face.
5. Red Candy-Cane Strand
With red, ch 48 and fasten off with long tails. Lay the chain around the white arches to check the length. Add or remove chains if needed so it meets at the back without stretching or bunching.
Thread the chain alternately over and under consecutive white arches, following the circle once around. There are 18 arches, so the alternating weave returns evenly to the starting side. Sew the red chain ends together at the back and tack the strand at several points with tiny hidden red stitches.
The white arches remain visible as soft scallops with a red diagonal strand between them. The red chain is a separate decoration; it does not change the golden shell count.
6. Red Bow — Make Two Pointed Pieces
With red, ch 7. Starting in the second chain, work sc, hdc, dc, dc, hdc, one stitch in each of the first five available chains. In the last chain work (sc, ch 2, sc).
Along the unused underside of the foundation, work hdc, dc, dc, hdc, sc in the next five chain positions. Join with a sl st to the first sc and fasten off with a long tail. Each piece has 12 stitches plus one ch-2 point. Make two.
