
Place the rounded bases together and point the two tips outward and slightly upward, making a bow shape. Sew the bases together, then wrap red yarn firmly around their shared center eight to ten times. Secure the wraps at the back with sewing stitches.
Pin the bow on the crown with its loops spreading left and right. Sew the wrapped center through several dense crown stitches in different directions. Add a short tack near each loop base so the bow keeps its position without flattening the tips.
7. Tiny Golden Clapper
With golden yellow, R1: 6 sc in MR . R2: 6 sc . R3: dec three times . Fasten off, draw the tail through the remaining front loops, and pull closed. Leave unstuffed and roll gently between your fingers.
Make a short golden chain long enough to reach from the inside crown to just below the rim; begin with ch 10 and measure against the actual shell. Sew one end to the clapper and the other to several stitches inside the crown. Adjust the chain length before securing the ends.
Only the bottom of the small clapper should show beneath the opening. It is a crocheted decorative drop, not a metal jingle bell. Make several attachment passes and keep the interior chain short.
8. Gold Hanging Loop
Cut approximately 25 cm of thin gold-colored cord and fold it into a loop. Pass its two ends through separate dense stitches behind the bow near the crown. Tie securely on the inside, then stitch the knot and cord ends to several crown stitches with strong thread.
Set the visible loop to approximately 6–8 cm high, keeping the knot hidden behind the bow. Lift gently by the loop to check that the face hangs upright. The hanging loop is cord, not a crochet round, and must be anchored independently of the bow wraps.
Shape and Finish
Check the rim from below: it should remain open and noticeably wider than the crown. Shape the shell by hand. For a firmer bell, test suitable fabric stiffener on a cotton sample, then follow its label. Dry the shell over a smooth removable form, protecting the eyes and decorations.
Remove the form only when the bell is completely dry. Check the bow, eye attachments, clapper, and hanging loop. This ornament has small attached parts and a hanging cord; display it away from young children and pets.
Reading the Two Complete Charts
Each full bell chart is arranged as a bell-shaped expansion of the complete shell rounds: the crown is at the top, the 36-stitch section forms the sides, and the 42/48/54-stitch flare widens the bottom. Every shell round is labeled with its stitch total. The bow and surface trim are shown at their assembly positions.
Because the shell is three-dimensional, the chart expands its full circumference into a flat bell-shaped working guide; it is not a flat applique pattern. Work each row of symbols as a circular round. The face marks, cord loop, and clapper position are assembly guides. Use the written instructions for all small pieces and exact finishing steps. A finished bell photo appears below each chart.
Questions and Tips
Why is my bell closing at the bottom? R14–R16 increase the circumference from 36 to 54 stitches. There are no shell decreases after the crown. Keep the last slip-stitch round loose.
Can I stuff the bell? Leave the shell hollow to preserve the open bell shape and space for the clapper. Use gentle shaping or a suitable stiffener if more support is needed.
Why does the trim pinch? Loosen the surface anchors and ch-2 arches. The red strand must fit the actual circumference without pulling it inward; adjust its chain length as needed.
Can I embroider the eyes? Yes. Black embroidered pupils with white highlights give a similar expression without detachable beads.
More Free Christmas Crochet Patterns
- Striped Scarf Snowman Applique
- Dusty Rose Poinsettia
- Red and White Snowflake
Save This Pattern
Save this cheerful golden bell for your handmade Christmas tree. Happy crocheting from Lovely Amigurumi!
Tutorial, Two Complete Charts, and Pinterest Gallery
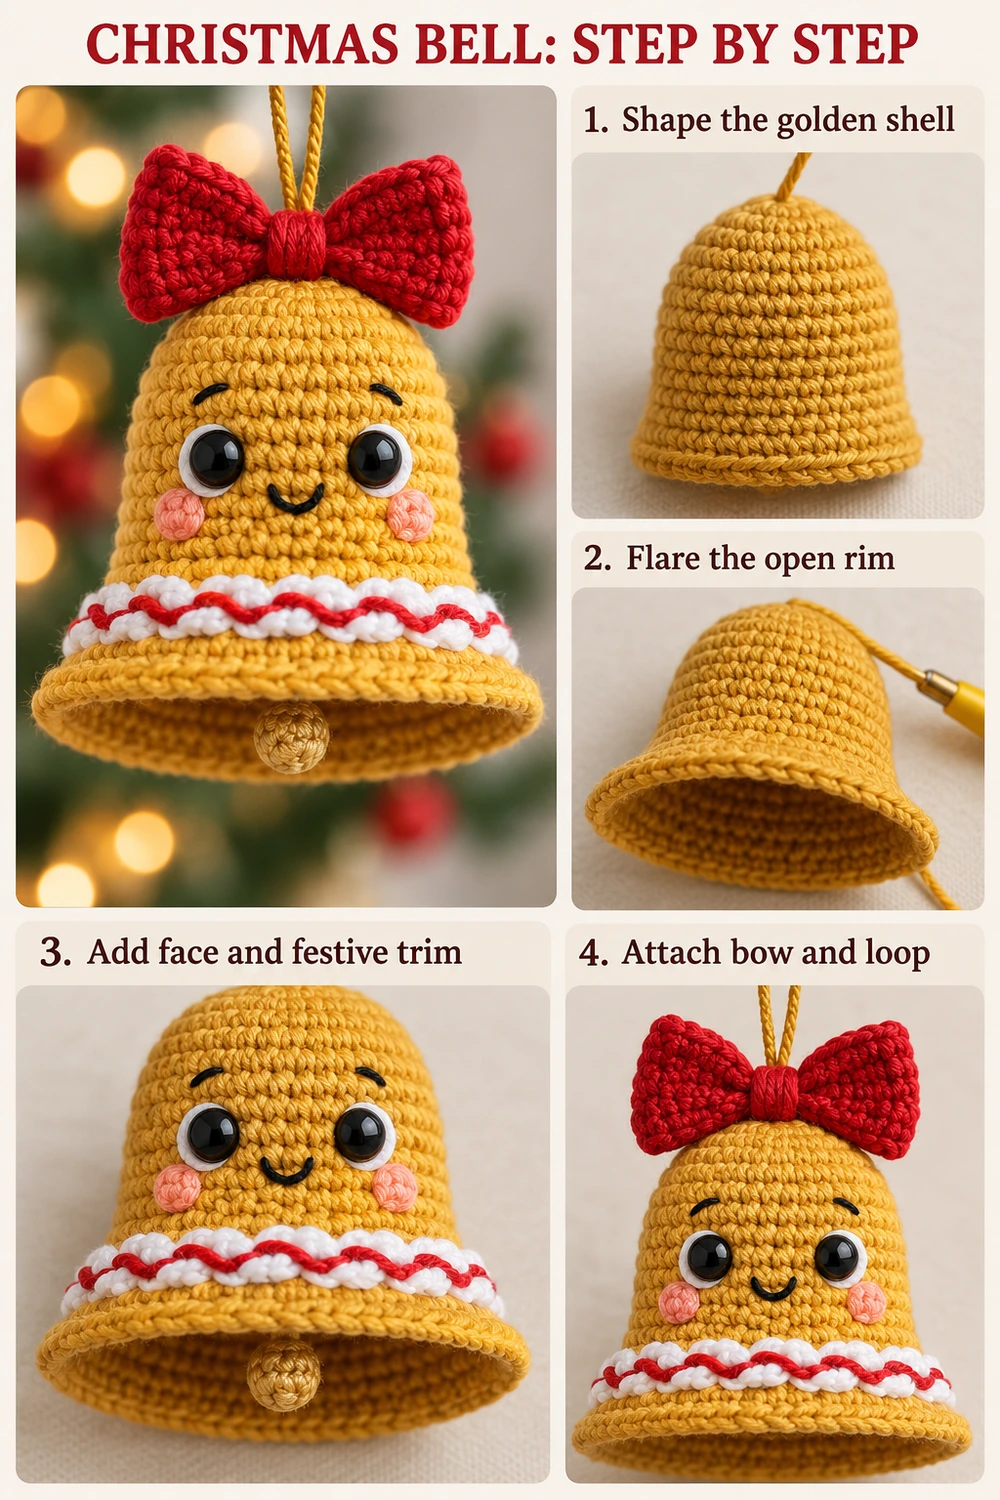
All six 1000 × 1500 images appear here at the end: one photo tutorial, two full chart-above-photo guides, and three Pinterest images.
More Free Crochet Patterns
Find your next handmade project with these lovely patterns.
Christmas Lace Star Crochet Pattern – Free Five-Point Ornament Guide
View Pattern →
Granny Stitch Gingerbread Crochet Pattern – Free Ornament Guide
View Pattern →
Blue Lace Snowflake Crochet Pattern – Free Ornament Guide
View Pattern →
CONTENT END 1
