
This Pearl and Star Christmas Tree Crochet Pattern makes a flat forest-green hanging tree with four overlapping scalloped tiers, a short brown trunk, and a golden five-point star. Small ivory pearls bring the soft festive finish of the reference to the green branches.
Each tier is a separate triangle worked from its tip downward, with increases at both edges and a shell border across the lower edge. Make four sizes, overlap them, and sew the dense upper sections together while leaving the shells free.
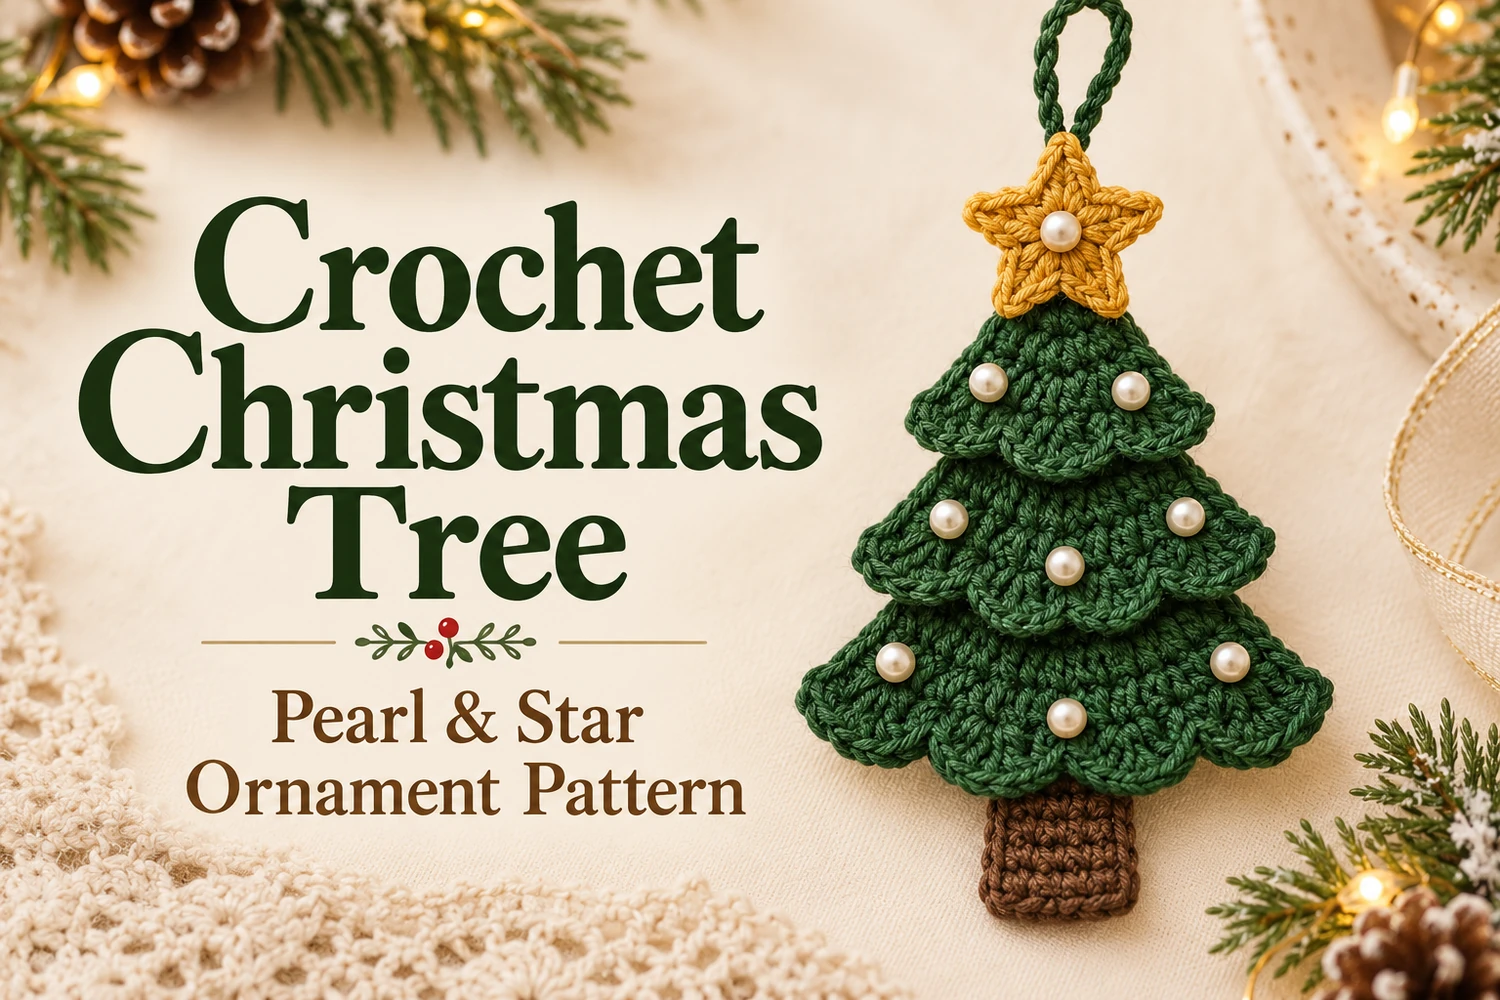
Pattern Information
- Skill level: confident beginner to intermediate; shaping, shell edging, and assembly.
- Estimated height: 20–25 cm excluding the loop with DK cotton and a 3 mm hook. Size varies with tension.
- Construction: four flat green triangles, a brown rectangle, one small gold star, and a chain loop. No stuffing.
- US crochet terminology.
This is an image-inspired adaptation. Stitch counts have been reviewed, but the pattern has not been physically crocheted or independently tested. The supplied photograph and its printed chart are visual references; use the written instructions and the matching chart below for this version.
Materials
- DK cotton: approximately 35–45 g forest green, 5 g brown, and a small amount of mustard gold.
- 3 mm crochet hook, or a size that makes firm but flexible fabric.
- Tapestry needle, scissors, stitch markers, pins, and a blocking surface.
- Approximately 12 small ivory pearls for the branches and one pearl for the star center, plus strong sewing thread and a suitable needle.
- Optional: substitute embroidered cream French knots for the pearls.
Abbreviations and Stitch Notes
- ch: chain; sl st: slip stitch; sc: single crochet.
- hdc: half double crochet; dc: double crochet; MR: magic ring.
- Inc: 2 dc in the same stitch in the triangle instructions.
- Shell: 5 dc in one stitch.
- Starting ch 3 counts as the first dc of each triangle row. Ch 1 for sc rows does not count.
- Turn after every triangle row. Work the shell border without turning partway across it.
Pearl and Star Christmas Tree Crochet Pattern
1. Four Green Triangle Bases
Make one triangle ending after Row 4, one after Row 6, one after Row 8, and one after Row 10. Use forest green for all four. Start each triangle separately; do not continue the small triangle to make the larger one.
Responsivo Post 01 – P1
Row 1:into a MR, ch 3 and work 2 dc . Close the ring firmly and turn. Leave a short tail for weaving in.
Row 2:ch 3, dc in the same first stitch, dc in the next stitch, 2 dc in the last stitch, which is the top of the previous starting ch 3 . Turn.
Every following triangle row:ch 3, dc in the same first stitch, dc in each stitch up to the last, 2 dc in the last stitch . Turn. Always work the final increase into the top of the starting ch 3 so the two sides grow evenly.
- Rows 1–4: 3, 5, 7, 9 dc. Stop here for Tier A, the top tier.
- Rows 5–6: 11, 13 dc. Stop here for Tier B.
- Rows 7–8: 15, 17 dc. Stop here for Tier C.
- Rows 9–10: 19, 21 dc. Stop here for Tier D, the bottom tier.
The full row sequence for each triangle begins again at 3 dc. Mark the first and last dc on each row if you find it hard to identify the starting chain. After the final base row, turn once to begin the border.
2. Scalloped Lower Borders
Ch 1. Repeat (sc in the next stitch, skip 1 stitch, 5 dc in the next stitch, skip 1 stitch) across the lower edge until one stitch remains. Sc in that final stitch. Fasten off with a long sewing tail. Do not add a shell along either sloping side.
- Tier A: 9 base stitches = 2 shells and 3 sc .
- Tier B: 13 base stitches = 3 shells and 4 sc .
- Tier C: 17 base stitches = 4 shells and 5 sc .
- Tier D: 21 base stitches = 5 shells and 6 sc .
Each repeat uses four base stitches. The final sc uses the one remaining stitch, so the shell border sits symmetrically between the two triangle edges. If you run short, check the base-row count rather than skipping extra stitches to make the border fit.
3. Brown Trunk
Ch 7 with brown. Row 1: sc in the second chain from the hook and each remaining chain . Rows 2–7: ch 1, turn, 6 sc . Fasten off with a long tail. The trunk is a flat rectangle. Its upper two rows will sit behind the bottom tier; the remaining rows remain visible.
4. Golden Five-Point Star
With mustard gold, make 5 sc in a MR. Join to the first sc with a sl st . For each point, ch 4; working back along this chain, sl st in the second chain from the hook, sc in the next chain, and hdc in the final chain. Sl st into the same base sc from which the point began, then sl st into the next base sc. Repeat until all five base sc carry one point. After the last point, the moving sl st returns to the first base sc. Fasten off with a sewing tail.
Responsivo Post 02 – P2
Spread the five points evenly and weave in the starting tail. The five sc form the small central ring; the returned chain points sit outside it. If the gold yarn is thicker than the green, use a slightly smaller hook so the star stays proportionate.
5. Block the Pieces
Dampen the four triangles and the star, then lay them flat. Pin the triangle tips and open each shell gently without stretching it into a rigid fan. Keep the two sides of each tier symmetrical. Let everything dry fully before assembly. Leave the trunk rectangular rather than pulling it into a point.
