
This Rustic Christmas Star Ornament Crochet Pattern creates flat five-point stars in ivory, forest green, and red, each finished with a natural jute bow and hanging loop. The dense radial center and broad points follow the handmade look of the reference.
Crochet one star at a time, shape the points, and add the rustic details after the yarn is dry. A small set makes a coordinated tree decoration or a handmade gift topper.
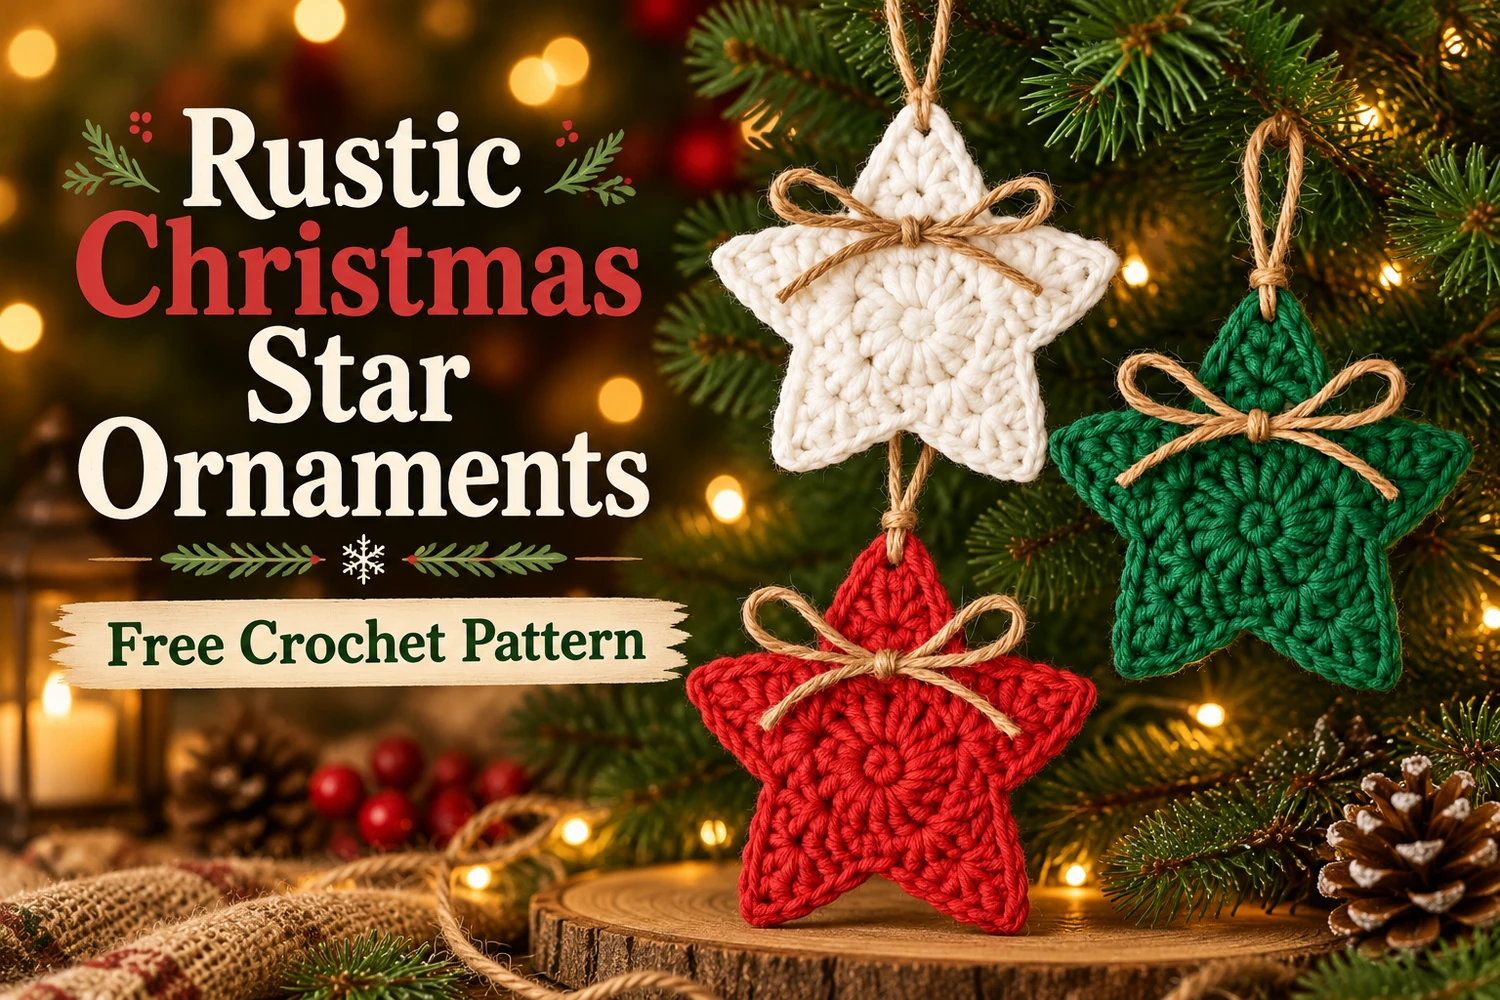
Pattern Information
- Skill level: confident beginner, with several stitches worked into one base stitch.
- Terms: US crochet terminology.
- Construction: one flat motif in two joined rounds, plus a separate bow and hanging loop.
- Estimated size: 7–9 cm across with DK cotton and a 3 mm hook; yarn and tension change the size.
- Colors: ivory, forest green, and Christmas red, with natural brown jute.
This is an image-inspired adaptation in US crochet terms. Stitch counts and repeat totals have been reviewed, but the pattern has not been physically crocheted or independently tested. Use the written instructions for exact stitch placement; the photo tutorials illustrate the construction.
Materials
- DK cotton yarn, about 5–8 g per star, in ivory, forest green, or red.
- 3 mm hook, or a size that makes a firm but flexible flat motif.
- Thin natural jute twine for the bow and loop.
- Tapestry needle, matching sewing thread, sewing needle, and scissors.
- Blocking mat and rust-resistant pins.
Use a smooth yarn so the star points and radial center remain visible. Thin jute is easier to tie into a small bow than stiff thick cord. The crochet motif is unstuffed, with no backing required.
Responsivo Post 01 – P1
Stitches and Abbreviations
- ch: chain.
- sl st: slip stitch.
- sc: single crochet.
- hdc: half double crochet.
- dc: double crochet.
- MR: magic ring.
- BLO: back loop only.
- st(s): stitch(es); R: round; Row: a turned row.
To work hdc, yarn over, insert the hook, yarn over and draw up a loop, then yarn over and pull through all three loops. For dc, yarn over, insert the hook and draw up a loop, then pull through two loops twice. Beginning chains do not count as stitches unless specified.
Before You Start
The center contains ten half double crochets. Each point in the second round uses two center stitches: a fan is worked into the first stitch and a slip stitch into the next. Repeat that sequence five times for exactly five points.
The tiny picot at the tip uses two chains. Its slip stitch goes into the second chain from the hook, while the slip stitch between points goes into the next stitch of the center round. These are two different placements.
Rustic Christmas Star Ornament Crochet Pattern
Round 1 — Radial Center
Make a magic ring. Ch 1 for height; it does not count as a stitch. Work 10 hdc into the ring. Pull the ring closed and join with a sl st in the top of the first hdc.
Keep the ring closed firmly, but avoid pulling so hard that the center becomes stiff or buckled. Place a marker in the first hdc if needed. The joining slip stitch is not an extra base stitch.
Round 2 — Five Star Points
Ch 1; this does not count. Starting in the first hdc of Round 1, work the following repeat:
- Into the next base stitch: sc, hdc, dc, ch 2, sl st in the second chain from the hook, dc, hdc, sc.
- Sl st into the following base stitch to make the valley between points.
- Repeat these two steps five times, using all ten hdc of Round 1.
Each fan contains 6 main stitches, arranged sc, hdc, dc, dc, hdc, sc, with a picot between the two dc. Each valley adds one slip stitch. At the end you have five fans, five picots, and five valleys. The chains and joining stitches do not create additional points.
After the fifth valley, fasten off. Use a needle to make a neat finishing join if desired, keeping it in the valley rather than across a star tip. Do not add another fan into the joining slip stitch.
Responsivo Post 02 – P2
Count Check
- Center: 10 hdc.
- Base stitches used per repeat: 2.
- Number of repeats: 5.
- Finished outline: 5 points, with 1 picot at each tip.
Weave in the Ends
Thread the starting tail through the backs of several center stitches, reverse direction, and weave it back before trimming. Keep the magic ring securely closed. Weave the finishing tail into the back of its adjacent fan, changing direction once.
Avoid running long strands across the open back of the star. Turn the motif over and check that no tail crosses between two points or pulls the edge inward.
Shape and Block the Star
Dampen the star lightly according to the yarn label. Lay it flat, spread the five points evenly, and place a pin near each picot without stretching the stitches. Place additional pins at the valleys only if needed.
Allow it to dry completely. The points should be distinct, and the center should lie flat. Keep the motif soft and avoid heavy pressing that flattens the yarn texture. Do not wet-block the jute bow with the star.
