
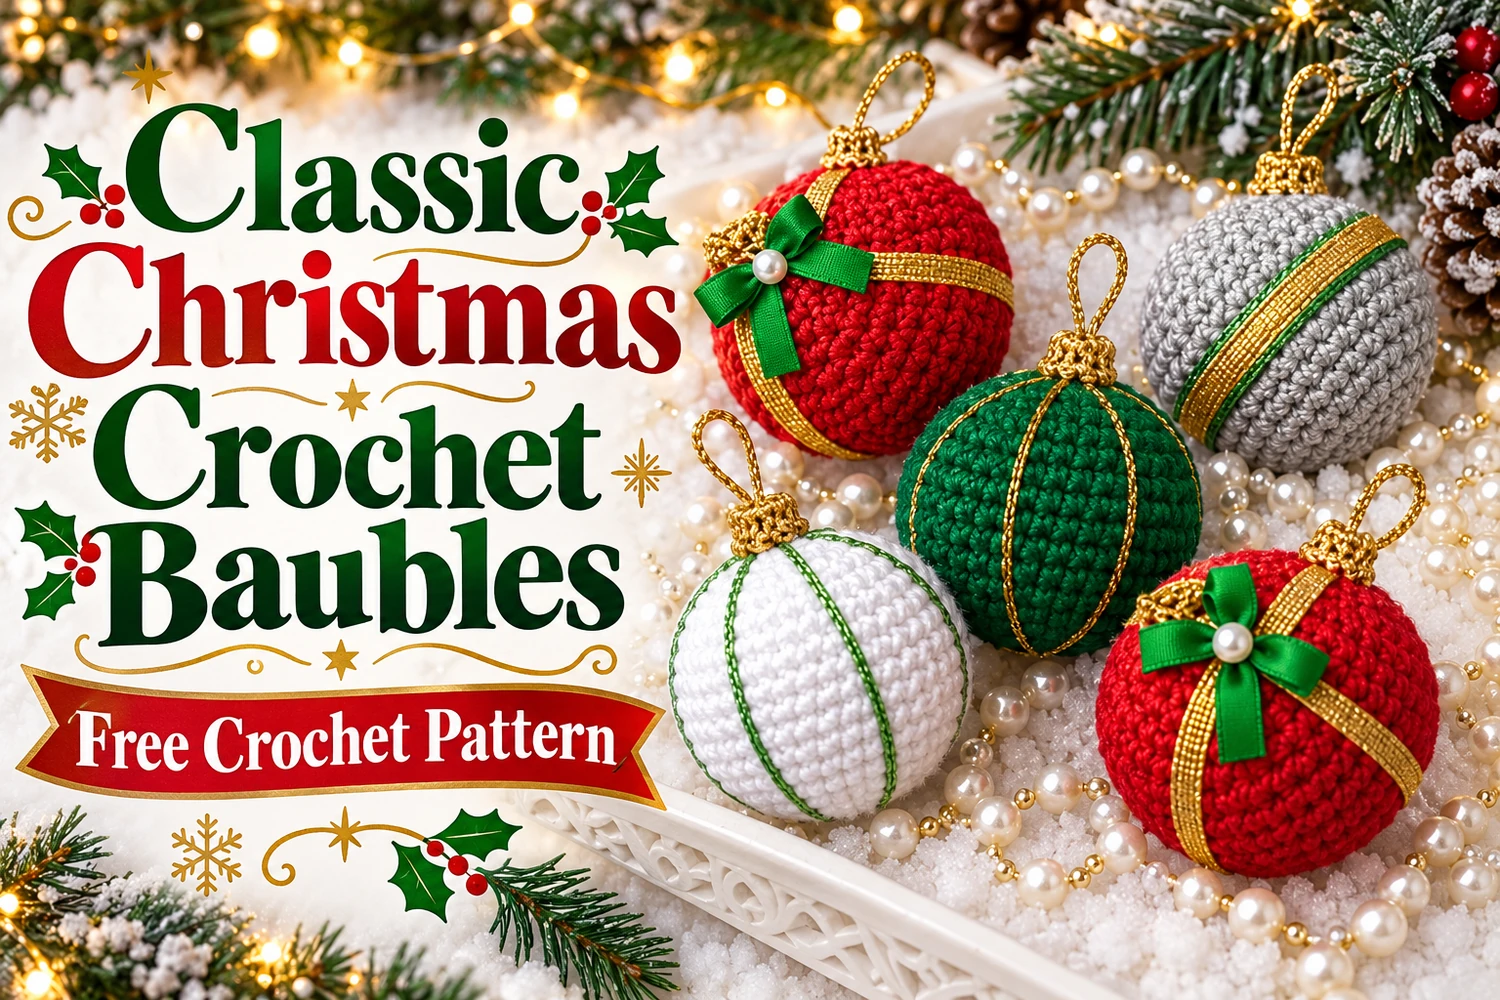
This Classic Christmas Crochet Baubles Pattern creates a coordinated set of red, green, white, and silver-gray ornaments with small gold caps. Crossed ribbons, fine meridian cords, green bows, and pearl-like centers recreate the different finishes in the reference.
Use one shared sphere pattern for all five baubles, then decorate each color separately. The written instructions explain the red ribbon balls, green and white cord-wrapped balls, and the gray ball with a green-and-gold band.
Pattern Information
- Skill level: confident beginner to intermediate, including decorative sewing.
- Terms: US crochet terminology.
- Estimated diameter: 6–8 cm with DK cotton and a 2.5 mm hook.
- Set: two red baubles, one green, one white, and one silver-gray.
- Construction: stuffed joined-round spheres, separate gold caps, sewn ribbons or cords.
This is an image-inspired adaptation in US crochet terms. The stitch counts and repeat totals have been reviewed, but the pattern has not been physically crocheted or independently tested. The photographs illustrate the design; follow the written pattern for exact construction.
Materials for the Set
- DK cotton yarn: approximately 20–30 g red, and 10–15 g each forest green, white, and silver-gray.
- Fine gold yarn for five caps and gold decorative cords.
- 2.5 mm crochet hook, or a size that makes dense fabric.
- Polyester stuffing, tapestry needle, scissors, sewing needle, and stitch markers.
- Narrow gold ribbon for the red baubles; narrow green ribbon for bows and the gray bauble.
- Gold ribbon slightly wider than the green ribbon for the gray band.
- Two small white pearl-like beads for the red bow centers, optional.
- Fine strong matching thread and hanging cords for five ornaments.
Use soft sewable ribbons. Green ribbon layered over slightly wider gold ribbon gives the gray ornament its gold-edged stripe. For a version without small beads, secure each bow with a few white embroidery stitches instead.
Responsivo Post 01 – P1
Stitches and Abbreviations
- MR: magic ring.
- ch: chain; sl st: slip stitch.
- sc: single crochet.
- inc: 2 sc in the same stitch.
- dec: sc2tog, a decrease over 2 stitches.
- BLO: back loop only; R: round; st(s): stitch(es).
- Counts in brackets are finished stitch counts. Repeats marked × are worked the stated number of times.
Use joined rounds throughout. At the end of each round, sl st into the first sc, then ch 1 before the next round. The joining slip stitch and ch 1 do not count as stitches. Work the first sc of the next round into the same first stitch. Do not turn.
For sc2tog, insert the hook into the next stitch and pull up a loop; repeat in the following stitch, then yarn over and pull through all three loops. Keep decreases firm enough to hold the stuffing inside.
Classic Christmas Crochet Baubles Pattern
1. Shared Sphere — Make Five
Make two spheres in red, one in forest green, one in white, and one in silver-gray. Use one color for all seventeen rounds of each ball. Begin at the bottom and finish at the top, joining every round and making ch 1 before the next.
- R1: 6 sc in MR; close the ring and join.
- R2: inc × 6; join.
- R3: (sc, inc) × 6; join.
- R4: (2 sc, inc) × 6; join.
- R5: (3 sc, inc) × 6; join.
- R6: (4 sc, inc) × 6; join.
- R7–12: 36 sc each round, joining after each round.
- R13: (4 sc, dec) × 6; join.
- R14: (3 sc, dec) × 6; join.
- R15: (2 sc, dec) × 6; join.
- R16: (sc, dec) × 6; join.
- R17: dec × 6; join.
2. Stuff and Close Each Sphere
Begin stuffing after R14. Add small tufts evenly around the inside, then shape the ball gently with your hands. Before R17, finish filling it firmly without stretching the stitch holes. Fasten off with a long tail, pass it through the front loops of the final six stitches, pull closed, and weave it into the ball. The starting MR is the bottom; the final closure is the top.
Keep all five balls similar in size by using the same yarn weight, hook, and stuffing amount. Finish every sphere before measuring its decorative ribbon or cord. A tape measure around the widest part gives a better fit than copying the length from another ball.
Gold Crochet Cap
- With gold yarn, R1: 6 sc in MR; join.
- R2: inc × 6; join.
- R3: ch 1, work 12 sc BLO; join.
- R4: ch 1, 12 sc; join.
Fasten off with a 25 cm sewing tail. Leave the twelve-stitch lower opening unclosed. The MR disc is the cap top, and the BLO round turns the wall downward. Do not stuff the cap. Test it over the ball closure before sewing.
Make five identical caps, one for each sphere. Put them aside until the decorative bands and the reinforced hanging loops have been attached.
Red Baubles — Crossed Gold Ribbons
Measure one full great-circle path around a red ball: from the top down the front, beneath the bottom, up the back, and back to the top. Cut a gold ribbon to that length with a small overlap. Lay it along that path and sew both ends at the top, where the cap will cover them.
Responsivo Post 02 – P2
Add a second ribbon loop at a right angle to the first. Together the two loops create four evenly spaced ribbon lines running between the poles. Tack each ribbon at the bottom crossing and at a few points along its length so it cannot slide. Keep the ribbons smooth without denting the sphere.
Green Bow and White Center
Tie a small bow from green ribbon, with two short loops and neatly trimmed tails. Sew its knot firmly to a ribbon crossing near the upper front of the red ball. Pass the thread through the knot several times and catch the crochet below it.
Sew one small white pearl-like bead over the center knot with at least three thread passes, securing the thread in the dense fabric beneath. Omit the bead or replace it with white embroidery if preferred. Repeat the crossed ribbons and bow on the second red ball.
Green Bauble — Fine Gold Meridian Cords
Make three lengths of fine gold cord, each long enough to travel from top to bottom and back to top around the stuffed ball, with sewing tails. Fine gold yarn can be used as it is, or worked into a loose chain for a more visible cord.
Arrange the three closed paths at approximately sixty-degree intervals around the poles. This makes six meridian lines descending from the top. Sew the ends at the top under the future cap, then tack each path at the bottom and along its sides. The cords should lie on the surface without cutting into the crochet.
