
7. Add Three Pairs of Branches per Stem
At each marked branch level, bring the needle up at the outer end of one short diagonal branch and take it down beside the main stem. Make a matching diagonal on the other side. Each pair forms a small V whose open ends point outward toward the star tip.
Work the innermost pair slightly longer, the middle pair a little shorter, and the outer pair shortest. Repeat this arrangement on all six arms. There are three pairs per arm, or thirty-six individual branch stitches across the snowflake. Where a branch is longer than about 1 cm, make it with two short backstitches rather than a single loose stitch.
Lay the ornament flat frequently. Keep enough slack that the base remains smooth; the embroidery should rest on the crochet without drawing the points inward. Secure and weave in each thread end on the back before trimming.
8. Add the Red Hanging Loop
Cut approximately 18–22 cm of red yarn and fold it into a loop, adjusting to the desired hanging length. Pass the ends through dense border stitches beside the top tip, keeping the ch-2 opening free if possible. Sew the ends through several neighboring stitches with at least three passes, then weave them into the back of the point. Check the attachment with a gentle tug.
A crocheted alternative is to make a chain about 10–12 cm long and sew its two ends to the same reinforced tip area. Keep both loop ends close together so the star hangs upright. This is a decorative ornament with a hanging cord; display it out of reach of young children and pets.
Make the Reversed Red-and-Cream Version
Follow the same six crochet rounds in red. Block and dry the base, then embroider the stems and branches in cream. Keep the border red and add a red hanging loop. The shaping and stitch counts stay identical in both colorways.
For a coordinated set, use the same yarn weight, hook, and tip spacing for each star. Finish one full ornament before cutting all the embroidery lengths so you can judge how much contrast yarn your tension uses.
Photo and Complete Crochet Symbol Chart
The third instructional image at the end combines a finished-star photograph with the complete connected crochet chart, R1–6, and an English symbol legend. All six point repeats and the matching border are shown. Read from the center outward; dots in R5 form the six worked valleys. The contrasting snowflake is surface embroidery added afterward and is explained separately in the steps above.
Troubleshooting
- Only five points appear: recount the center. R4 must have 24 stitches, divided into six groups of four.
- One point looks larger: check that its tall fan is (dc, tr, ch 2, tr, dc) in one stitch.
- An extra valley appears: distinguish the six worked valley slip stitches from the final joining slip stitch.
- The border gains stitches: work into the six tip spaces as directed and skip the extra round join.
- Embroidery pulls the star inward: loosen and restitch the affected arm before fastening off.
- Branches disappear into the fabric: use slightly thicker contrast yarn or place short backstitches over the stitch columns.
Frequently Asked Questions
Is the snowflake crocheted into the star?
No. Make a one-color crochet star first and embroider the contrasting snowflake onto its surface afterward. This keeps the two colorways easy to reverse.
Can I make the ornament firmer?
Use dense cotton stitches and block carefully. If desired, apply a light textile stiffener after embroidery, following its label and testing it on a yarn scrap first.
Can I use it as a coaster?
It is designed as a hanging ornament. The raised embroidery can affect how a cup sits, so use it as a decorative piece unless you have checked that the intended cup is stable on it.
More Free Christmas Crochet Patterns
- Six-Point Star Ornament Crochet Pattern
- Floral Christmas Star Ornament Crochet Pattern
- Granny Reindeer Ornament Crochet Pattern
Save This Pattern
Save this Embroidered Christmas Star Crochet Pattern for a red-and-cream handmade holiday set. Happy crocheting from Lovely Amigurumi!
Photo Tutorials, Complete Star Chart, and Pinterest Gallery
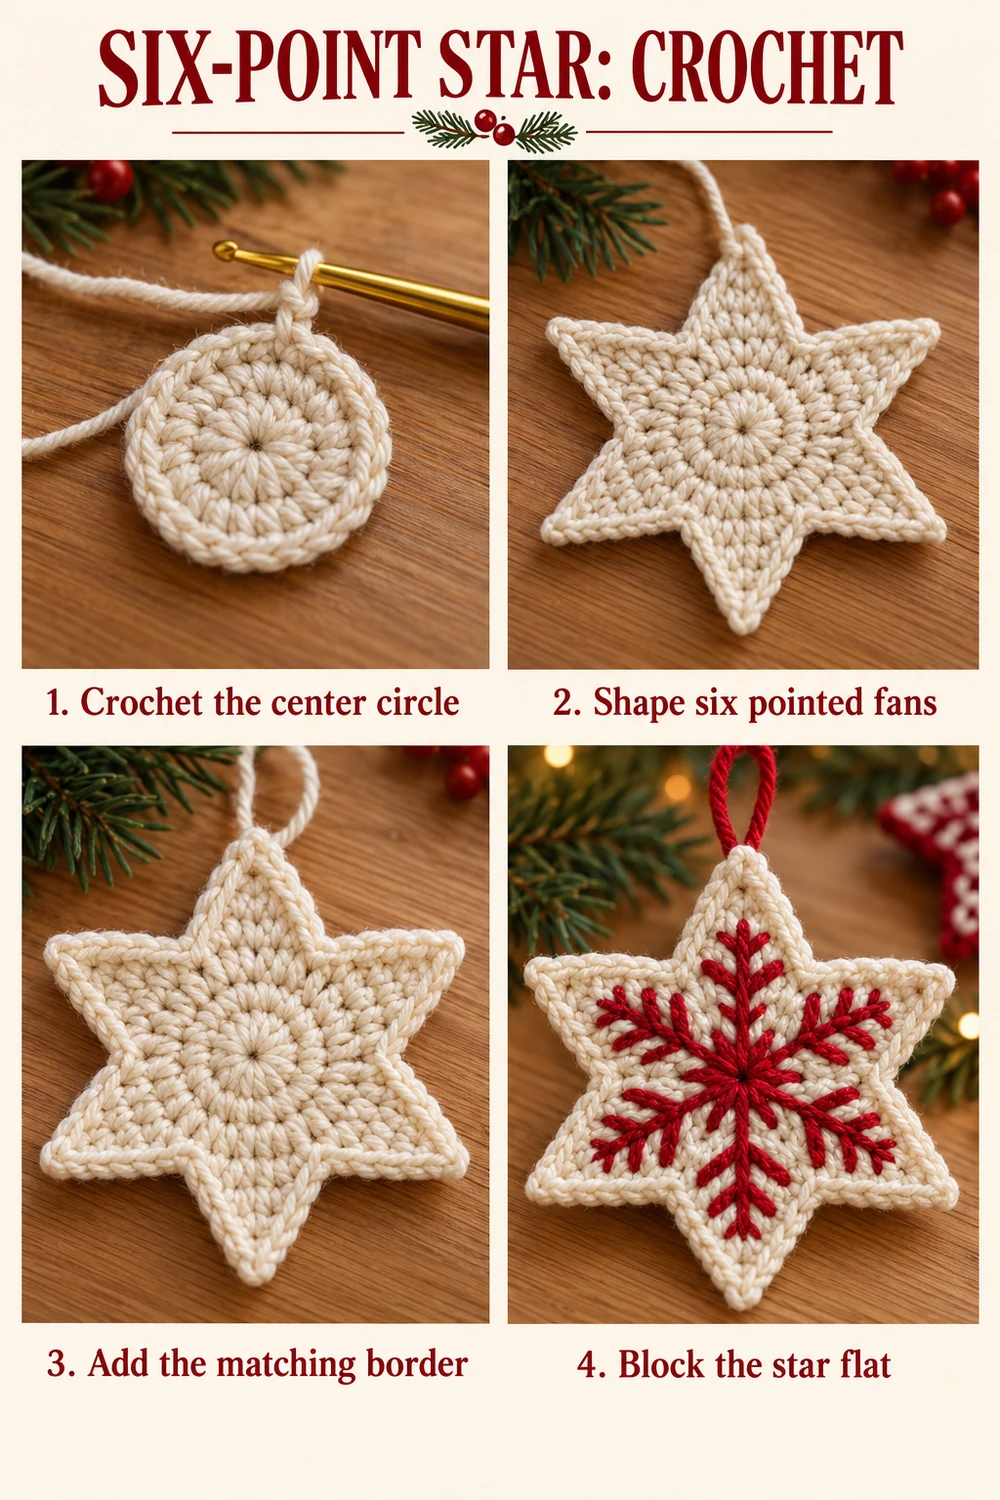
The two step-by-step photo tutorials and the finished-star photo with its full crochet chart come first, followed by three Pinterest images. All six images are grouped here at the end.
More Free Crochet Patterns
Find your next handmade project with these lovely patterns.
Christmas Lace Star Crochet Pattern – Free Five-Point Ornament Guide
View Pattern →
Granny Stitch Gingerbread Crochet Pattern – Free Ornament Guide
View Pattern →
Blue Lace Snowflake Crochet Pattern – Free Ornament Guide
View Pattern →
CONTENT END 1
