
Few characters translate to yarn as naturally as Hello Kitty. Her wide white head, tiny triangle ears, and oversized bow are simple shapes, which makes Hello Kitty amigurumi a good project for anyone comfortable with a magic ring and basic increases and decreases. This guide covers the materials, the general construction, finishing tips, and answers to the questions crocheters ask most, so you can plan your own version with confidence.
What Makes Hello Kitty Amigurumi So Special
Hello Kitty’s charm is her simplicity. She has a wide, slightly squat head, small oval eyes, a yellow nose, and whiskers. She famously has no mouth, which suits amigurumi well because there’s less to embroider and less to go wrong. That minimalism is part of what people call kawaii crochet: soft rounded shapes, tiny features, and a sweet, simple face.
The bow gives you room to personalize the toy. It’s usually red, but pink, blue, and seasonal colors all work. The result makes a good gift, bag charm, or shelf display piece.
Materials You May Need
Exact requirements depend on the pattern and the size you want, but most versions use:
- Yarn: white or off-white for the head and body, plus a small amount each of red (or your bow color), yellow, and black
- Crochet hook: usually a size smaller than the yarn label suggests, so the fabric is tight enough to hide stuffing
- Polyester fiberfill
- Eyes and nose: small black safety eyes or embroidery thread; yellow yarn or felt for the nose
- Embroidery thread for whiskers
- Tapestry needle, scissors, and a stitch marker
Cotton yarn gives crisp stitches and holds its shape. Acrylic is soft, affordable, and easy to find. Either works, but cotton tends to show fewer gaps.
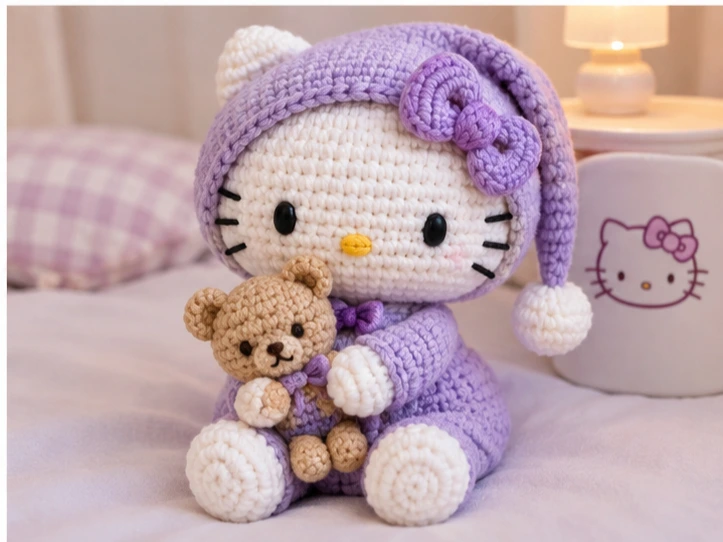
How to Make It
Most Hello Kitty patterns follow the same logic. The steps below are a general framework, not a complete pattern, so your stitch counts and proportions may differ depending on the design you follow.
Choosing a Pattern
Free patterns turn up on crochet blogs, video tutorials, and community pattern sites, and some craft stores post free patterns on their websites (availability varies). For a first attempt, look for a pattern with clear round-by-round counts and photos.
Start With the Head
Work in continuous rounds with a stitch marker. A common sphere-shaping sequence looks like this:
- Round 1: 6 sc in a magic ring (6)
- Round 2: inc in each stitch (12)
- Round 3: sc, inc around (18)
- Round 4: 2 sc, inc around (24)
- Round 5: 3 sc, inc around (30)
- Round 6: 4 sc, inc around (36)
Hello Kitty’s head is wider than it is tall, so work only a handful of even rounds (sc around, 36) before decreasing. Then reverse the increases: 4 sc, dec (30), 3 sc, dec (24), 2 sc, dec (18). Stuff firmly, then sc, dec (12), and dec around until closed.
Make the Body
The body is small. Start with a magic ring, increase to around 18 to 24 stitches, work several even rounds, and decrease slightly toward the top. Stuff lightly so the head doesn’t tip over. Arms and legs can be tiny stuffed ovals or simple flat pieces sewn on.
Ears, Bow, and Details
Ears are small triangles or half-circles, worked flat and sewn on. For the bow, crochet a short rectangle, pinch it in the middle, and wrap yarn around the center. Sew it near one ear.
