
Pin the ears and bow before sewing to check symmetry. Place the eyes low and wide-set, with the nose centered between them. Embroider three whiskers on each side with straight stitches. Skip the mouth.
Tips for a Better Result
- Keep tension tight and even. Loose stitches let white fiberfill show through, which is especially noticeable on pale yarn.
- Stuff as you go. Add small pieces of filling rather than large clumps to avoid lumps.
- Check symmetry from the front. Ears, eyes, and whiskers should mirror each other before you commit to sewing.
- Use pins liberally. Position everything and step back before stitching.
- Sew ears and bow securely. These pieces get handled the most.
- Hide your ends. Weave in tails inside the toy for a clean finish.
Top 4 Crochet Trends
Bag Charms and Keychains
Mini crochet accessories are popular because they use little yarn and finish quickly. Make a small Hello Kitty by using thinner yarn and a smaller hook, or by following a pattern written for a mini size. Add a keyring loop or lobster clasp at the top of the head.
Simple Kawaii Faces
Minimal facial features have become a signature look in cute amigurumi. Hello Kitty already fits the style. Try embroidered eyes instead of plastic ones for a flatter, softer look, and keep the whiskers thin and evenly spaced.
Soft, Plush-Style Yarns
Many crocheters like ultra-soft yarns for a plush-toy feel. If you try one on this project, remember that fuzzy or velvety yarns can hide stitch definition. They’re better suited to the body than to the face, where clean shapes matter.
Dress-Up and Themed Outfits
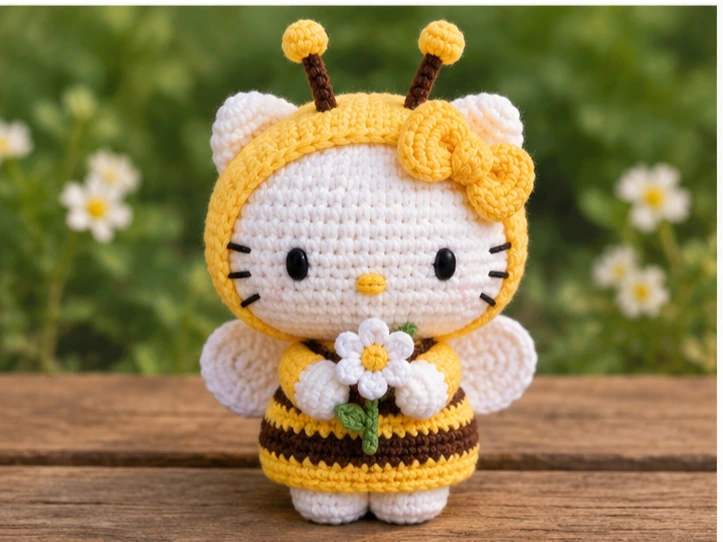
Small wardrobe pieces, like a tiny dress, overalls, or a hat, let one toy have several looks. Crochet a simple outfit in a contrasting color and make it removable so the toy can change with the season.
Styling / Ideas
- Swap the bow color to match a birthday, holiday, or favorite palette.
- Make a set in different sizes for a display shelf.
- Attach a pin back or magnet for a small decorative piece.
- Package a finished toy as a gift with a handwritten tag.
- Try a sleeping version with closed embroidered eyes.
- Add a scarf or beanie for winter.
FAQs
What yarn is best for Hello Kitty amigurumi?
Cotton yarn gives clean, firm stitches and holds its shape, while acrylic is soft and budget-friendly. Choose a smooth yarn in a true white, since fuzzy yarn can blur small features like whiskers.
Is Hello Kitty amigurumi good for beginners?
It can be, if you already know the magic ring, single crochet, increases, and decreases. The shapes are simple, though matching the head’s proportions and placing the features takes some care.
Can I sell Hello Kitty crochet items?
Hello Kitty is a trademarked and copyrighted Sanrio character, so selling handmade versions can raise legal issues even if you made every stitch yourself. Making one for yourself or as a gift is a different situation. If you want to sell, research Sanrio’s licensing rules or design an original cat character instead. This isn’t legal advice, so check the current rules for your situation.
Why doesn’t Hello Kitty have a mouth?
It’s part of her original design, and it keeps the face simple and expressive. For amigurumi, it also means there’s no mouth to embroider, which helps beginners.
Conclusion
A well-made Hello Kitty amigurumi comes down to tight stitches, even stuffing, and careful feature placement. Choose a clear pattern, pick soft, smooth yarn, and take your time with the face and bow. Once you’ve finished one, try changing the colors, making a mini version, or sewing a tiny outfit.
