
Sew two black eyes above and to either side of the nose. Use the reference to keep the expression balanced. Embroider a curved black smile below the nose in short backstitches. Sew two black buttons down the center of the body below the neck, leaving the scarf end clear. Embroidered eyes and buttons can be used in place of notions.
6. Two Holly Leaves and Three Berries
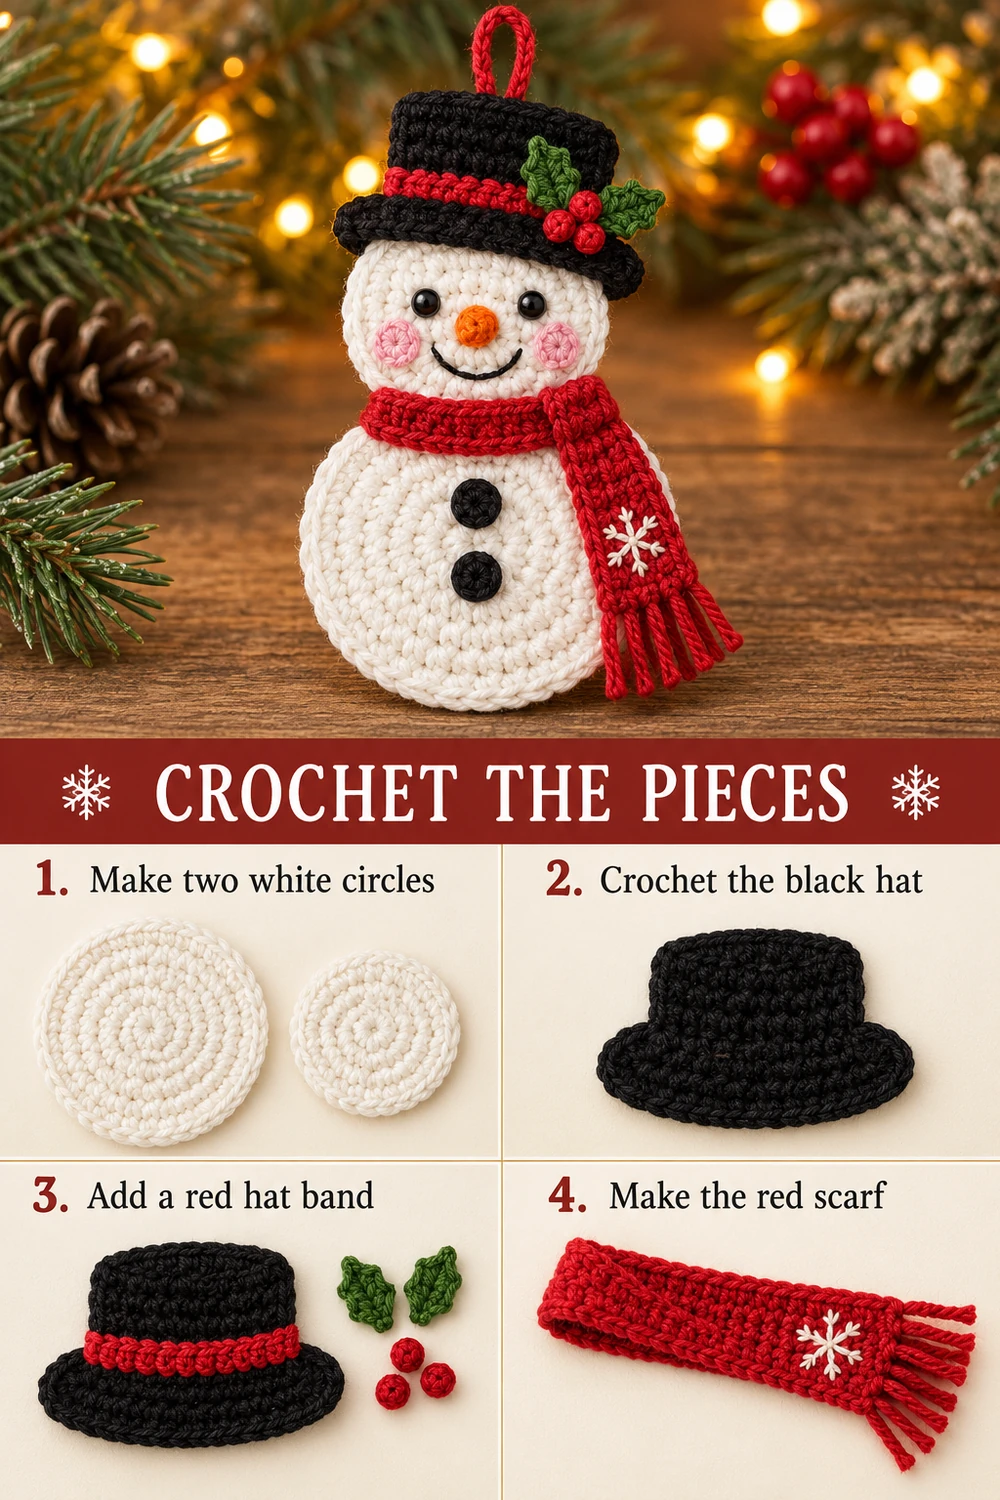
Leaf:ch 7 with green. Starting in the second chain, work sc, hdc, dc, hdc, sc in the next five chains. In the last chain work 3 sc. Return along the unused foundation loops: sc, hdc, dc, hdc, sc. Join to the first sc .
For the serrated edge, ch 1; work sc in each of those 13 stitches, adding a picot after stitches 2, 4, 7, 10, and 12. Join to the first sc and fasten off . Make two leaves. Sew their bases to the right side of the hat band, with their tips pointing upward and outward.
Berries: make 4 sc in a red MR, join, and fasten off. Tighten the ring and curl the tiny disc into a bead with a few sewing stitches. Make three. Sew the berries in a compact cluster over the leaf bases, taking several passes through the hat band. These berries remain unstuffed.
7. Red Hanging Loop
Ch 28 with red and fasten off with two long tails. Fold the chain into a loop. Sew both ends to the back of the hat center, catching several crown stitches and continuing into the head behind the brim. Make at least four passes in different directions so the loop load is spread across the fabric.
Lift the finished snowman gently by the loop and check that the head and body hang straight. Secure any loose hat or scarf corners with small hidden stitches. Weave in every remaining tail.
Finishing and Care
Lightly damp-block the white circles before assembly if they curl. After sewing, reshape the ornament flat and let it dry fully. Do not soak attached buttons or eyes. Spot-clean gently and store flat. This is a display ornament with small sewn parts and a long loop; keep it out of reach of young children and pets.
Questions and Tips
Why is my circle ruffling? Check that each round has exactly six increases. If the count is correct, try a slightly smaller hook or looser joining stitch. Gentle blocking can help minor unevenness.
Can I make a padded version? This pattern is intended to stay flat. A padded version needs a second matching back and an outer seam, which changes the construction. Keep this version unstuffed to match the reference.
Is the chart one continuous piece? The single assembled chart shows the snowman silhouette and where separately crocheted parts join. Dashed lines indicate sewing. Each white circle is worked independently from its MR, and the hat and scarf are made in rows.
Complete Snowman Chart
The chart image has one assembled snowman chart at the top and the finished ornament photograph below. It includes the full head and body bases, hat, brim, red band, and the scarf end in their assembly positions. Facial details are placement marks. The holly and loop instructions are written above. Follow the English symbol legend and the written counts for small decorative parts.
More Free Christmas Crochet Patterns
- Pearl and Star Christmas Tree
- Ivory Holly Berry Ornament
- Christmas Bell Ornament
Save This Pattern
Save this snowman ornament for a handmade holiday project. Happy crocheting from Lovely Amigurumi!
Tutorials, Crochet Chart, and Pinterest Gallery
The two photo tutorials and the single-chart-above-photo guide come first, followed by three Pinterest images. All six images are grouped here at the end.
More Free Crochet Patterns
Find your next handmade project with these lovely patterns.
Christmas Lace Star Crochet Pattern – Free Five-Point Ornament Guide
View Pattern →
Granny Stitch Gingerbread Crochet Pattern – Free Ornament Guide
View Pattern →
Blue Lace Snowflake Crochet Pattern – Free Ornament Guide
View Pattern →
CONTENT END 1
