
This Lace Angel Ornament Crochet Pattern recreates the delicate look of a blush-pink angel with a round head, two open loop wings, and a little fan-stitch dress. Three rounded scallops form the hem, while a small chain loop makes it ready to hang.
Use a single shade of cotton for the quiet, handmade appearance of the reference. The angel lies flat, needs no stuffing, and makes a lovely tree ornament, gift topper, or small garland decoration.
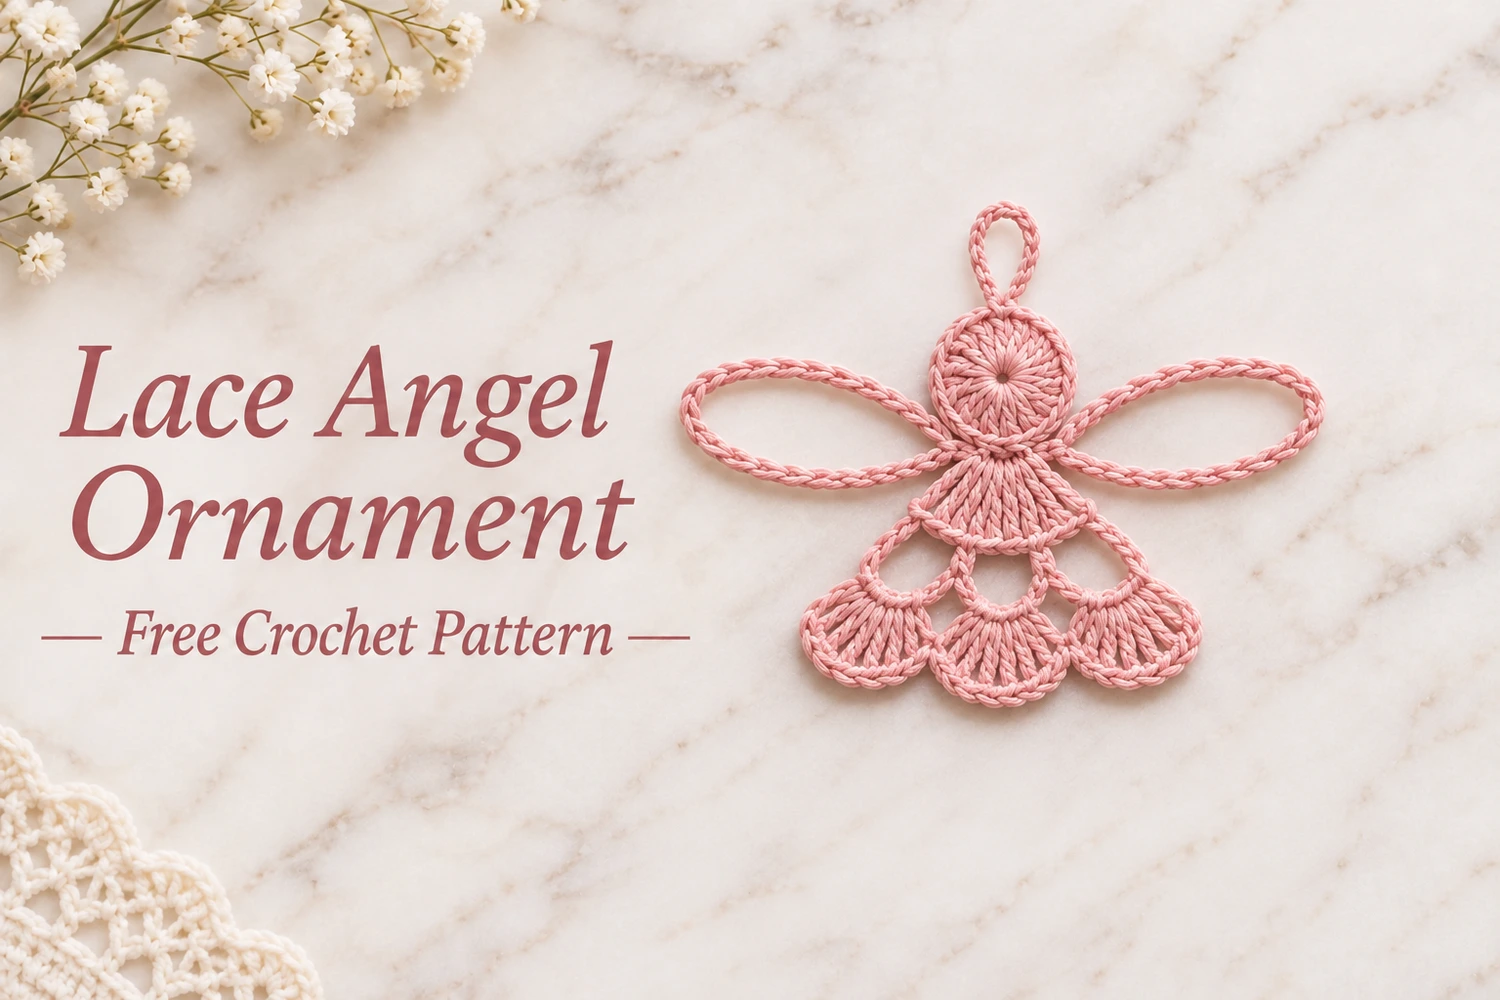
Lace Angel Ornament Crochet Pattern: Project Details
- Skill level: confident beginner familiar with chains, double crochet, and turning rows.
- Terms: US crochet terminology.
- Estimated size: approximately 10–13 cm tall including the hanging loop, depending on yarn, hook, and blocking.
- Construction: one round head, a three-row dress worked from a separate small foundation loop, and two chain-loop wings. Sew the dress and head together at the neck.
- Appearance: dusty pink throughout, no face, no stuffing, and three broad lower scallops.
This is an original image-inspired adaptation, not a transcription of an existing designer’s instructions. Stitch counts have been checked, but this version has not been physically crocheted or independently tested. Use the written pattern for construction; the photos illustrate the intended appearance.
Materials
- Approximately 8–12 g of smooth sport-weight cotton in dusty blush pink.
- A 2.5–3 mm crochet hook, or a size that produces neat stitches without making the chains rigid.
- Tapestry needle and small scissors.
- Blocking mat, rustproof pins, and water for shaping.
- Optional washable fabric stiffener, used according to its label, if you prefer a firmer ornament.
A smooth, lightly twisted yarn keeps the fan stitches and open spaces visible. Fuzzy yarn hides the lace detail, while an oversized hook can make the long wings floppy. Before starting, crochet a few chains and double crochets to check that you can see the individual loops clearly.
Responsivo Post 01 – P1
Abbreviations and Counting Notes
- ch: chain.
- sl st: slip stitch.
- sc: single crochet.
- dc: double crochet.
- MR: magic ring.
- st / sts: stitch / stitches.
- ch-sp: chain space.
- Shell: 7 dc worked in the same chain space.
The initial ch 3 counts as one dc in the head and at the beginning of dress Rows 1 and 2. A turning ch 1 at the start of Row 3 does not count. All other chains form spaces or loops and are counted separately from the dc totals. Brackets at the end of an instruction describe the completed row or round.
1. Make the Round Head
Make an MR. Ch 3, then work 11 dc into the ring. Pull the ring closed and join with a sl st to the top of the beginning ch 3.
Ch 10 for the small hanging loop, then sl st into the same stitch where the head round was joined. Fasten off, leaving a tail long enough to weave securely through the back of several stitches. Keep the loop at the top of the head. The dress will attach to the opposite, lower edge.
Flatten the circle gently with your fingers. The center should close neatly without puckering the outer stitches. If the tail slips while tightening the MR, hold the base of the stitches as you draw it closed, then weave the tail in two directions on the back.
2. Crochet the Fan-Stitch Dress
Make the dress separately. Ch 4 and join with a sl st to the first chain to make a small foundation ring. This loop sits at the neck beneath the head; do not work the dress into the head stitches.
- Row 1: Ch 3, work 4 dc into the foundation ring. Turn.
- Row 2: Ch 3 and dc in the first st; ch 3, skip 1 st, work (dc, ch 3, dc) in the center st; ch 3, skip 1 st, work 2 dc in the top of the beginning ch 3 from Row 1. Turn.
- Row 3: Ch 1, sc in the first st, skip the next dc; work 7 dc in the first ch-3 space, sc in the next dc; work 7 dc in the next ch-3 space, sc in the next dc; work 7 dc in the final ch-3 space; skip the next dc and sc in the top of the beginning ch 3 from Row 2.
Fasten off with a sewing tail. The three shells form the left, center, and right scallops. Each of the three ch-3 spaces receives one shell. Once blocked, the three fans spread across the lower edge.
Before fastening off, check that each shell contains exactly seven dc. Identify all four sc anchors: the first edge, the join after the first shell, the join after the center shell, and the final edge. Keep these anchors snug enough to separate the curves while allowing the fans to open.
3. Join the Head and Dress
Lay the head with its hanging loop pointing upward. Place the small foundation ring of the dress directly beneath the lower edge of the head. With the dress tail, sew that ring to two adjacent stitch tops at the bottom of the head. Take several small passes through both pieces, keeping all knots and yarn ends on the back.
Responsivo Post 02 – P2
The join should be narrow, like a little neck. Do not overlap the head over the first full fan row: leave the five dc of dress Row 1 visible below the join. Check the front before weaving in the remaining tail.
