
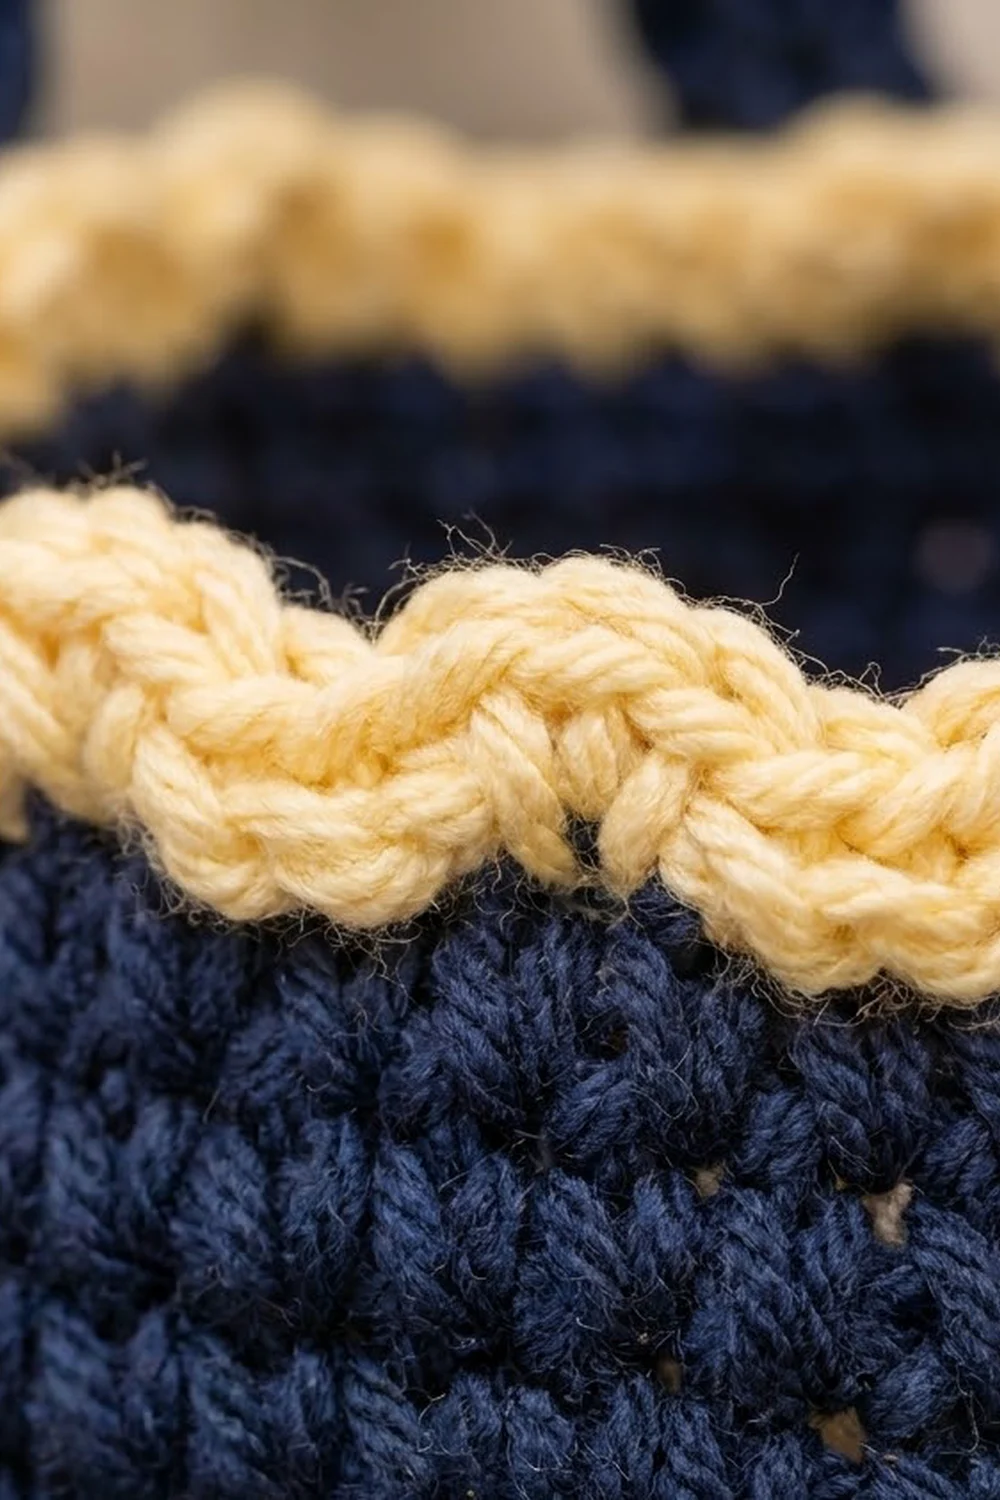
The Starlight Trio is a hanging toilet paper organizer with three snug pockets arranged in a triangle. Each pocket is deep navy with a cream filet-mesh star on the front and a wavy cream rim with a twisted, rope-like edge. A single wooden ring at the top lets it hang from a towel hook or door hook.
The look is cozy and a little festive. Navy and cream suit a winter bathroom, but the design also works all year. The dense single crochet walls hide the rolls well, while the open mesh star adds a light, airy detail.
This pattern uses US crochet terms. The finished cluster measures 9.5 in (24.1 cm) wide and 8.6 in (21.8 cm) tall. With the strap and ring, it is about 15 in (38.1 cm) tall. Each pocket is 4.75 in (12.1 cm) across and 4.8 in (12.2 cm) tall.
Here is the construction in brief. You crochet three pockets from the base up in joined rounds and add the cream rim. Then you make three mesh stars and sew one onto each pocket. Finally, you make one strap, join the pockets into a triangle, and attach the strap and ring.
Finished Size and Construction
- Finished size: 9.5 in (24.1 cm) wide x 8.6 in (21.8 cm) tall (pocket cluster); about 15 in (38.1 cm) tall with the ring
- Skill level: Intermediate
- Terminology: US
- Yarn weight: Worsted (#4) cotton
- Hooks: 4.0 mm (pockets, strap), 3.5 mm (stars)
- Number of pieces: 7 (3 pockets, 3 star appliqués, 1 strap)
- Layout: 1 pocket on top, 2 below (triangle)
- Pocket size: 4.75 in (12.1 cm) base diameter x 4.8 in (12.2 cm) tall
- Size before border: the navy pocket alone is 4 in (10.2 cm) tall
- Border (rim) depth: 0.8 in (2.0 cm)
Materials
Use a smooth worsted-weight cotton or cotton blend. Cotton keeps its shape when it holds a roll and copes well with bathroom humidity. Acrylic works too, but the pockets will be softer.
- Navy: 150 g, about 230 m (250 yd)
- Cream: 60 g, about 93 m (101 yd)
Both quantities include a margin of roughly 15–20% for gauge swatches and sewing.
Tools:
– 4.0 mm and 3.5 mm crochet hooks
– One wooden ring, 2.75 in (7.0 cm) across
– Stitch markers
– Tapestry needle
– Scissors
– Rust-proof pins
– Measuring tape
Abbreviations (US Terms)
- ch – chain
- sl st – slip stitch
- sc – single crochet
- hdc – half double crochet
- dc – double crochet
- inc – 2 sc in the same stitch
- BLO – back loop only
- sk – skip
- st(s) – stitch(es)
- sp – space
- rev sc – reverse single crochet (crab stitch): working left to right, insert the hook into the next stitch to the right, yarn over, pull up a loop, yarn over, pull through both loops.
Special stitch – Block (filet mesh): One block is an open square framed by two dc posts with a ch-1 space between them. A row of N blocks has N + 1 posts. At the start of a row, “ch 4” counts as the first dc plus ch-1. A dc into the next dc completes the first block, and each (ch 1, dc in next dc) adds one more block.
Gauge and Checkpoints
Pocket gauge (4.0 mm): 16 sc and 18 rounds = 4 in (10.2 cm).
Star gauge (3.5 mm): 11 blocks x 11 rows = 3.5 in (8.9 cm) square.
Make one complete pocket and one star before starting the others. Check these measurements as you go:
- After Rnd 10: the base is 4.75 in (12.1 cm) across.
- After Rnd 28: the navy wall is 4 in (10.2 cm) tall above the base ridge, and the circumference is 15 in (38.1 cm).
- After the rim: the pocket is 4.8 in (12.2 cm) tall.
- Finished star: 3.5 in (8.9 cm) wide and tall.
If your base is too big, go down 0.5 mm; if it’s too small, go up 0.5 mm. Change hooks rather than stitch counts, because the rim repeat needs exactly 60 stitches.
If the star is larger than 3.75 in (9.5 cm), switch to a 3.25 mm hook so it fits inside the 4 in (10.2 cm) wall.
Pocket (Make 3)
Use navy and the 4.0 mm hook. Work in joined rounds: ch 1 at the start of each round (it doesn’t count as a stitch), and finish each round with a sl st into the first sc. Do not turn.
Base
- Rnd 1: Magic ring, 6 sc in ring. (6)
- Rnd 2: Inc in each st around. (12)
- Rnd 3: (Sc 1, inc) 6 times. (18)
- Rnd 4: (Sc 2, inc) 6 times. (24)
- Rnd 5: (Sc 3, inc) 6 times. (30)
- Rnd 6: (Sc 4, inc) 6 times. (36)
- Rnd 7: (Sc 5, inc) 6 times. (42)
- Rnd 8: (Sc 6, inc) 6 times. (48)
- Rnd 9: (Sc 7, inc) 6 times. (54)
- Rnd 10: (Sc 8, inc) 6 times. (60)
To keep the circle round instead of hexagonal, move the increases a few stitches to the side in alternate rounds. Checkpoint: the base is 4.75 in (12.1 cm) across and lies flat.
Walls
- Rnd 11: Sc in BLO of each st around. (60) This makes a ridge where the base turns up into the wall.
- Rnds 12–28: Sc in each st around. (60)
The walls are 18 rounds, Rnd 11 through Rnd 28. Checkpoint: the wall is 4 in (10.2 cm) tall. Fasten off navy. Place a marker at the round joins of Rnds 11–28; that line of joins is the back of the pocket.
The cream rim is worked in the Border section below.
Star Appliqué (Make 3)
Use cream and the 3.5 mm hook. The star sits on an 11 x 11 block grid, with columns numbered 1 to 11. You start at the widest arm row, work upward to the top point, then turn the piece over and work down from the foundation chain to form the legs. Every edge is shaped by decreasing only.
To decrease at the start of a row: turn and work (sl st in ch-1 sp, sl st in next dc) once for each block you skip, then ch 4.
To decrease at the end of a row: stop after the last block you need.
Upper half
- Row 1 (columns 1–11): Ch 26. Dc in the 6th ch from the hook; the skipped 5 ch count as the first dc, a ch-1 space and a base ch. Then ch 1, sk 1 ch, dc in next ch; repeat 9 more times. (11 blocks, 12 posts)
- Row 2 (columns 1–11): Ch 4, turn, dc in next dc. Then (ch 1, dc in next dc) across, ending in the 3rd ch of the turning chain. (11 blocks)
- Row 3 (columns 4–8): Turn, sl st across 3 blocks (6 sl sts), ch 4, then work 4 more blocks. Leave the last 3 blocks unworked. (5 blocks)
- Row 4 (columns 5–7): Turn, sl st across 1 block, ch 4, then work 2 more blocks. Leave 1 block unworked. (3 blocks)
- Row 5 (columns 5–7): Ch 4, turn, then work 2 more blocks. (3 blocks)
- Row 6 (column 6): Turn, sl st across 1 block, ch 4, dc in next dc. Leave 1 block unworked. (1 block)
Fasten off.
Lower half
Turn the piece upside down so the foundation chain is on top. You’ll work into the free loops of the chain, putting each dc into the same chain that holds a Row 1 post.
